Thursday, March 26, 2009
Sunday, March 22, 2009
Monday, March 16, 2009
Assignment 1
Thursday, March 12, 2009
Thursday, March 5, 2009
Vector render tutorial
This works with polygon geometry. First make sure you have the Vector render plugin loaded from WINDOWS_SETTINGS/PREFERENCES_PLUGI-N MANAGER, scroll down in the plugin menu and load_refresh the plugins.
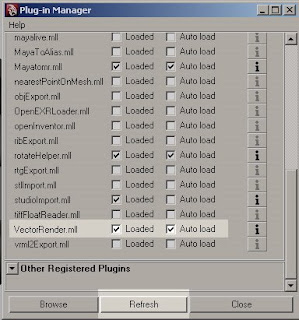
Go to render properties and you’ll have a new render type to choose… software, mental ray, vector, etc.
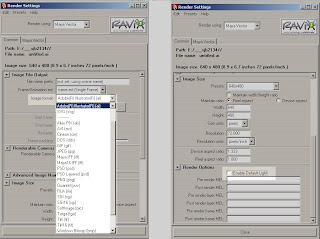
Here are the settings I typically use for vector Render in the common tab.
For image format select Adobe Illustrator. Since we are making a vector file which will be scalable you don’t need a large file size, so 72 dpi, and 640*480 (default) is fine, and we can turn off any lighting so the rendering takes less time.
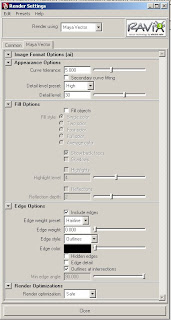
The vector options that work best for me are as follows
Curve Level: 5, detail preset: high, uncheck Fill Objects, and check Include Edges.
The ai file will be saved where ever you have set the maya project folder to be. By default this will be the E:\Maya\projects\default\images. To set the location yourself go to FILE_PROJECT_SET. When you hit render you’ll get a raster view of the ai file that was saved in which ever location you set. Each time you render an ai file it will use the maya file name and save over the previous render, so change the name of the file if you want to keep it.
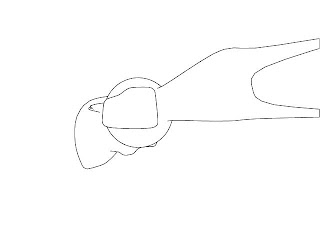 The above settings will more or less give you the outline or silhouette of your polygon object. If you want the wireframe as well then select the geometry and go to NORMALS_HARDEN EDGE. Change the name of your last ai file and hit render again.
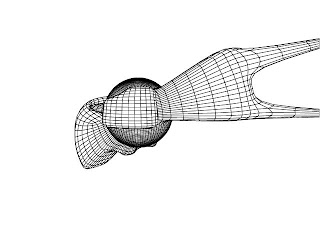
To cut a section go to the top view and select your geometry. Select the EDIT MESH_CUT FACE TOOL. Your cursor will change. Hold the left mouse click and drag a line where you want to cut a section. If you hold shift you can make an orthogonal line. In the channel box editor you can change the location or rotation of this line, and you can also hide the cut faces under INPUTS_POLYCUT_DELETE FACES. Type in 1 for “on”.
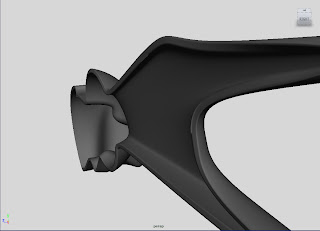
To get more options you can check out contour rendering http://toi.bk.tudelft.nl/toi-pedia/index.php?title=Mental_Ray_Contour_Shader_tutorial. You can also bring your geometry into Rhino as an iges to take sections, or make topographical contours. If you get lines from the same orthographic view in Maya and Rhino you can make composite drawings.
Saturday, February 28, 2009
Sign up list: Sunday March 1st
3:15_
3:30_
3:45_
4:00_
4:15_
4:30_ Debbie Lin 500S
4:45_ Jessica 500N
5:00_


